

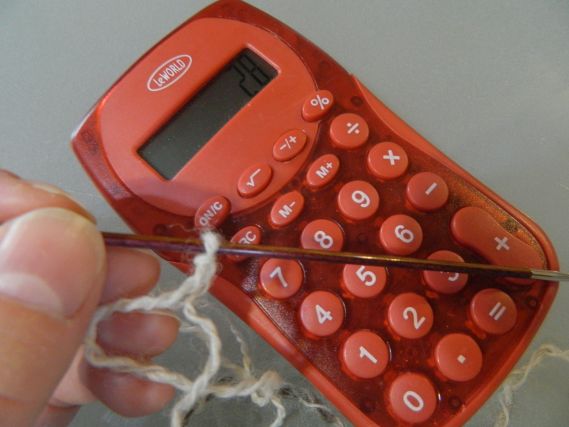


Before I start knitting, I make sure all of your "bumps" are pushed to the inside of the work. That way I won't accidentally get a twist. Twists are bad for socks. Don't ask me how I know this either.

Now we are going to start calling the needles by names. There is a front needle and a back needle. Remember that the back needle is the one that ALWAYS has the working yarn coming from it. If it doesn't, I switch the needles around until it does. In order to start knitting, I just slowly pull the BACK needle out leaving the stitches on the cable until it reaches the front needle and I am able to knit comfortably with it. This is scary at first. I practiced this part over and over with big yarn and big circular needles until I was comfortable enough to do it with the skinny stuff. If you haven't yet, go watch that video and this will all become very clear-awkward at first but clear.

It seems crazy, but all I have to do now is knit down the front needle as usual in the ribbing of my choice. Here I am using a 3x1 which means repeating 3 knit stitches and then 1 purl stitch. On 56 stitches, the math on that works out perfectly. That marker will fall out and disappear, probably under the couch. Don't worry about it. I don't need it anymore. Oh, and I always make sure the working yarn isn't wrapped over the back needle or I will get a loop I don't want. It should be coming straight out of that last stitch not coming from over it.

When I get to the end of the needle, the other side is joined.

All I do now is push the back stitches which are now on the back cable up onto their needle...

...and turn them around so that they are back in the original working position with the needles facing right and the working yarn in the BACK. The row that has not been knit yet should be in front now and the row just knit is in the back. I slowly pull that back needle out and start knitting down the front needle again. Here is a terrible video of me doing it.

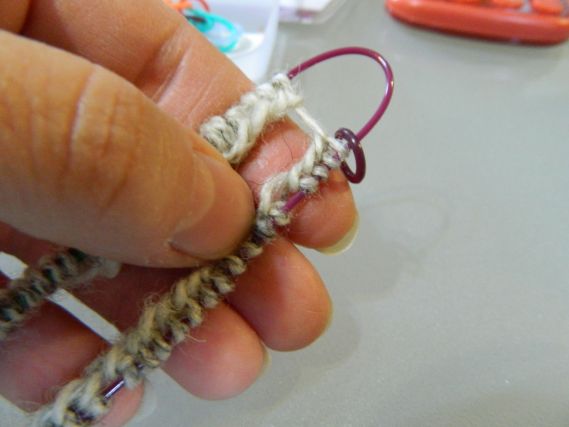
The method is called the Magic Loop because as you can see there are loops at each end of the work. They are important as they keep the two sides separate and when it comes to the heel and toe shaping I need to know where each side is so I make sure I don't pull the needles through so hard that I pull the loops in. If I do, I just recount and pull a loop back through the stitches the same way that I originally made the loop.

As I come to the beginning of each row I snug up the yarn a bit to avoid a "ladder" of loose stitches going up the side. I do this by pinching the two needles tightly as I make the first stitch. Again I make sure the yarn is not looped over the last stitch on the back needle. If it is I will have a yarnover when I come back around again. If I do this, I just drop it off the needle and forget about it. If I knit it, I will have a hole and a loose stitch looks better than a hole.

The first few rows look like the dog's breakfast until I can start seeing the ribbing pattern emerge. I keep knitting back and forth (actually around and around) on the two needles until I get the leg ribbing as long as I want it. The more I knit, the easier it becomes because it starts to make more sense once I can see the pattern emerge.
We'll tackle the heel tomorrow.


.jpg-large)


Twists are bad for EVERYTHING - I just recently cast on 220 stitches for my Dad's sweater and knit 3 whole inches before I realized I'd twisted it and had to rip is all out! GRRRRR!!!
ReplyDeleteOMG!
Deleteok deep breath. don't hold your breath while learning new stuff...don't ask me how I know this.
ReplyDeleteI am going to watch the loop video. I am going to try and learn magic loop.
breathing.
Anne
You can do it!
Delete